- Motion detector in KVYcamBgr
- How to set detection
- Motion detection
- Results of detection
- Automatically sending of created video file to the Dropbox server
In this article I describe how to use the motion detector in KVYcamBgr. For sample I took one of video clips by Apollo 11 Video Library. This clip (1 hour 10 minutes 40 seconds) shows the first steps of Neil Armstrong and Buzz Aldrin on the Moon surface. You can use any video source in the program for their own purposes.
How to work the detector. After start the detector tries to discover motion of objects in your video. If this trying is successful, then it opens a file for record of video’s part where those objects were detected. The detector will record video into a file until that motion will be stopped in video. After it the detector closes that file. The file name denotes date and time of file creation. For example, 20191230_183702.mp4: 2019 – year, 12 – month, 30 – day, 18 – hours, 37 – minutes and 02 – seconds.
How to set detection
At first you should create a new source with the property Motion detection. For it use the menu command File/New source (the toolbar has the same command too). This command calls the wizard for source settings, follow its instructions. In the section Output operation select the option Motion detection: file record:
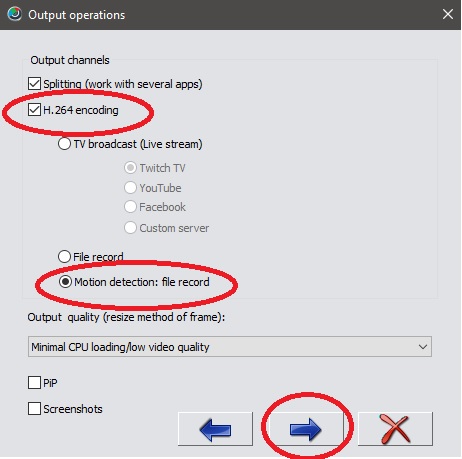
Click on the button Continue (the arrow right) and finish all settings in the wizard. After it the wizard adds the Motion detection section to a new source:
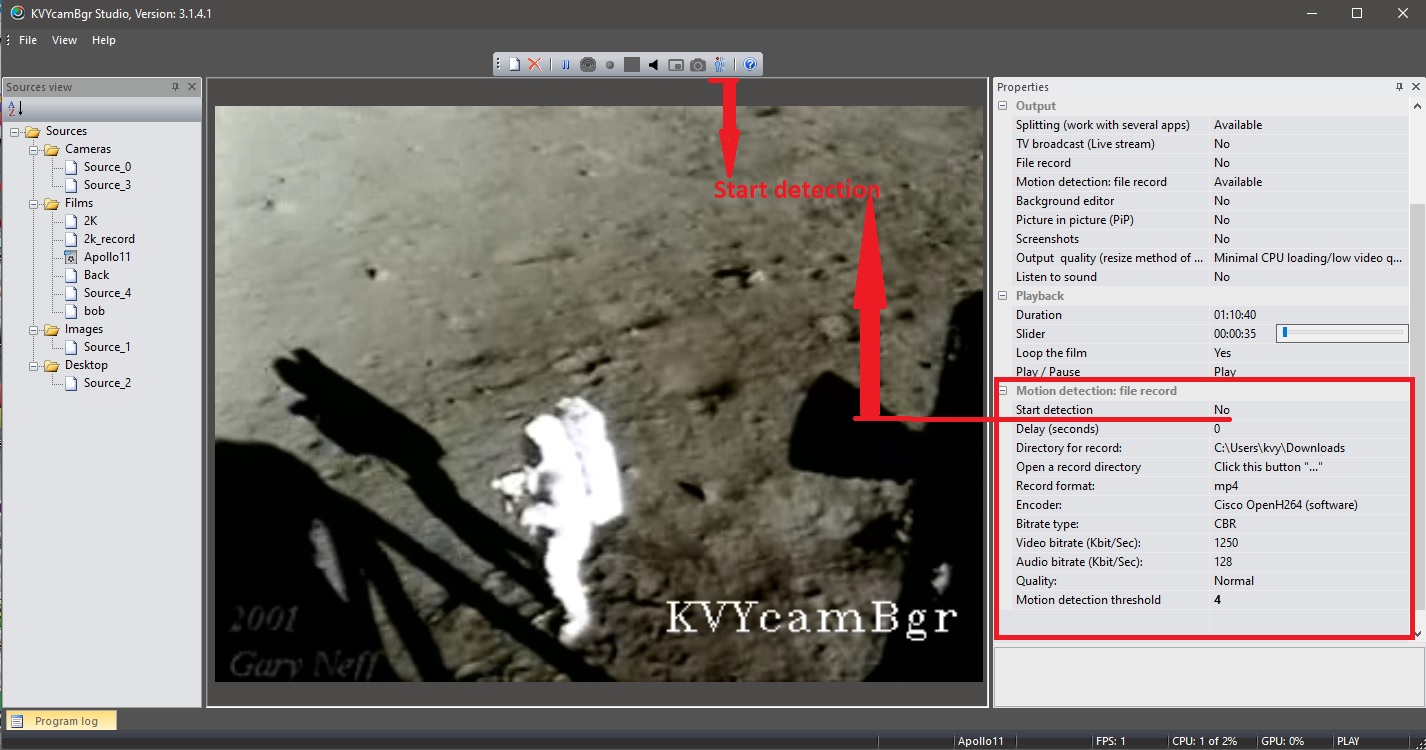
The Motion detection section has the following options:
- Start detection – start or stop detection. The toolbar has the same command too.
- Delay(seconds) – sets a delay of detection before start. For details see the tooltip for this option in Properties.
- Directory for record – the directory for record of detected video, by default is Download. You can change this directory by button […].
- Open a record directory – opens the record directory for review in Explorer. For it use the button […].
- Record format – the extension for video files. For details see the tooltip for this option in Properties.
- Encoder – the option of H.264 encoder. For details see the tooltip for this option in Properties.
- Bitrate type – the option of H.264 encoder. For details see the tooltip for this option in Properties.
- Video bitrate(KBit/sec) – the option of H.264 encoder. For details see the tooltip for this option in Properties.
- Audio bitrate(KBit/sec) – the option of H.264 encoder. For details see the tooltip for this option in Properties.
- Quality – the option of H.264 encoder. For details see the tooltip for this option in Properties.
- Motion detection threshold – defines as fast the detector will respond on motion. The values 0 and 1 mean that video is without motion. By default is 3.
- Copy the files with motion detection to Dropbox – the option turns on (or off) the automatic copying the created file into the Dropbox server.
- Dropbox path – Dropbox folder where the program will copy the created files after motion detection, by default is KVYcamBgr.
As you see, the important options are Start detection and Motion detection threshold there. The default values for other options are enough for most cases, the program calculates them using the parameters of your video.
If your source uses a webcam, then I recommend not to set critical values for your device. These values take away PC resources and are not always useful for detection. My recommendations for the webcam:
- Frame size – 1280×720 or less.
- Frame rate – 15 or less.
- Lighting effect – if this effect is present in the webcam, then set it in the properties of this webcam. For details, see here.
The detector is ready for job. Active it by using the option Start detection or via the same command on the toolbar.
Motion detection
After finish of the video clip the detector created 39 files with motion. Here I review only four typical cases:
1. Neil is going out of the Moon module:
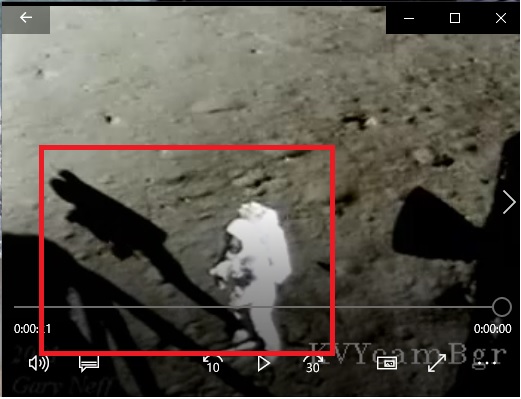
There are two detected objects (Neil and his shadow) here.
2. False detect:
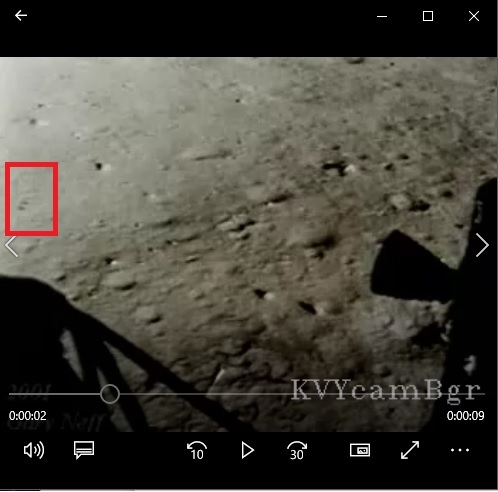
Sometimes small objects appear and disappear in the frame. This happen due to poor quality shooting. To eliminate such detections I set 4 in the option Motion detect threshold.
3. Shadow of Buzz:
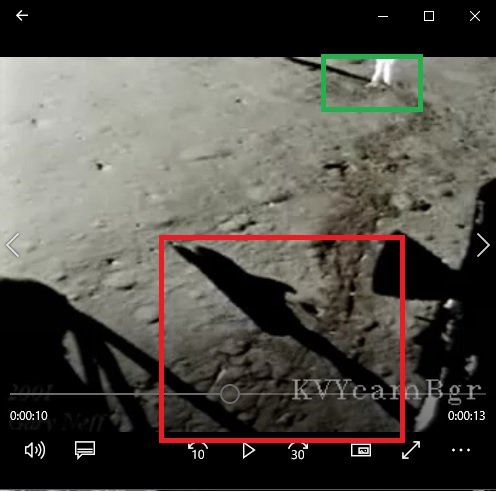
We see two objects in this frame. The first one is Neil (green rectangle). He is static due for low frame rate of shooting. Hence, the detector doesn’t see him. But Buzz is moving. We don’t see him but see his moving shadow (red rectangle).
4.Flag setting:
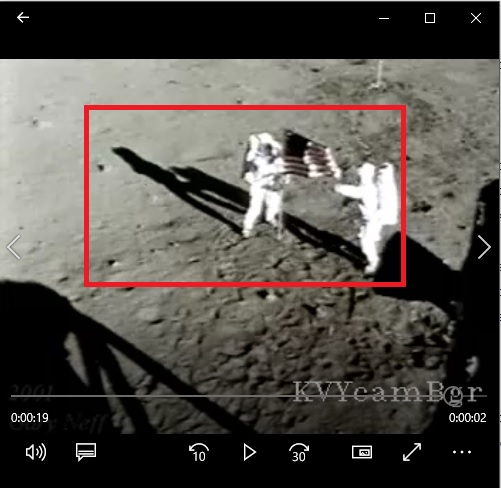
Here we see five moving objects: Neil, Buzz, their shadows and flag. Hurrah!!! We are on the Moon!
Results of detection
For this mode the program offers you the following diagnostics:
1. During file record the status bar shows the current info about that operation:

2. When the detector created a video file, the program shows quantity of files created for the current session in the status bar:

The program log also keeps info about it, for example:
[21/Jan/2020 at 13:09]:
File motion detection: C:\Users\kvy\Downloads\20200121_130924.mp4
[21/Jan/2020 at 13:09]:
DETECTION: 1
3. After session closing the program adds the record to log about it, for example:
[21/Jan/2020 at 13:31]:
Stop of motion detection. DETECTION: 1 events
Automatically sending of created video file to the Dropbox server
This feature is only available for versions of the Studio program.
Attention! Dropbox will set new access rules on September 30, 2021. This means that older versions of KVYcamBgr (6.2.4.1 and earlier) cannot save motion files to the Dropbox server. If you use this operation, set KVYcamBgr v.6.3.4.3 (or later) on your PC. If your license expired and did not allow you to install this version, then you have to update the license.
How to set it:
1. You should have an account on the Dropbox site. If you don’t have it, please, use this link for this.
2.In the Properties, set the option Copy the files with motion detection to Dropbox to Yes.
3. The program asks you to pass the authorization on the Dropbox site. Click on Yes.
4. After it the program calls your browser for this operation:
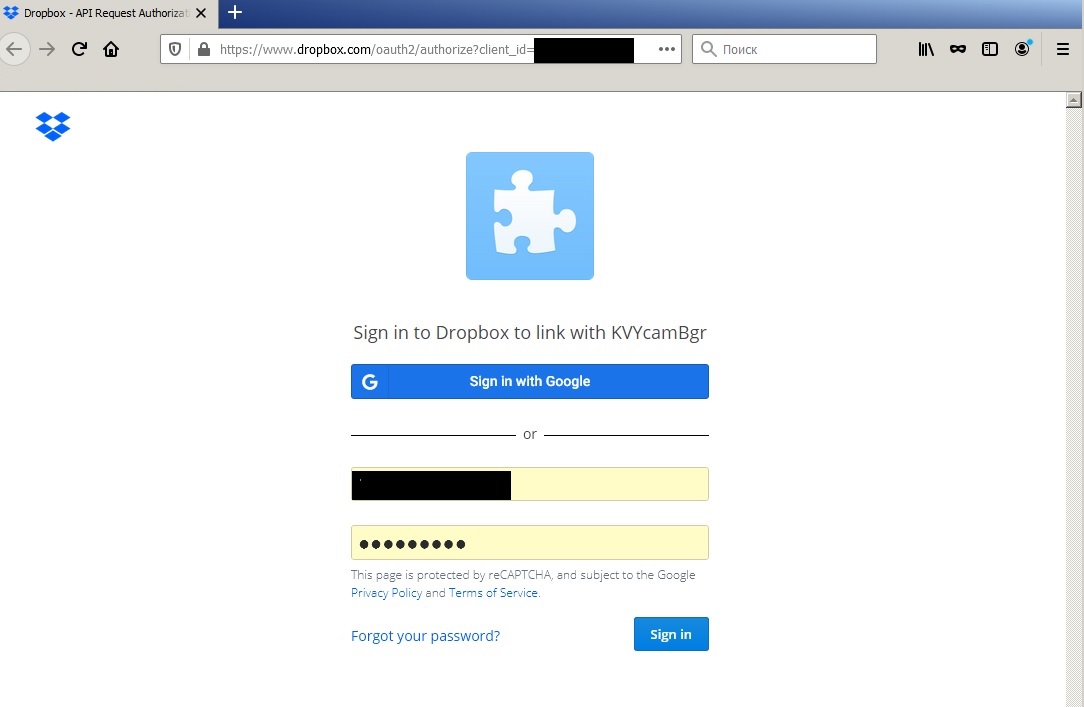
a. The first page – sign in to Dropbox:
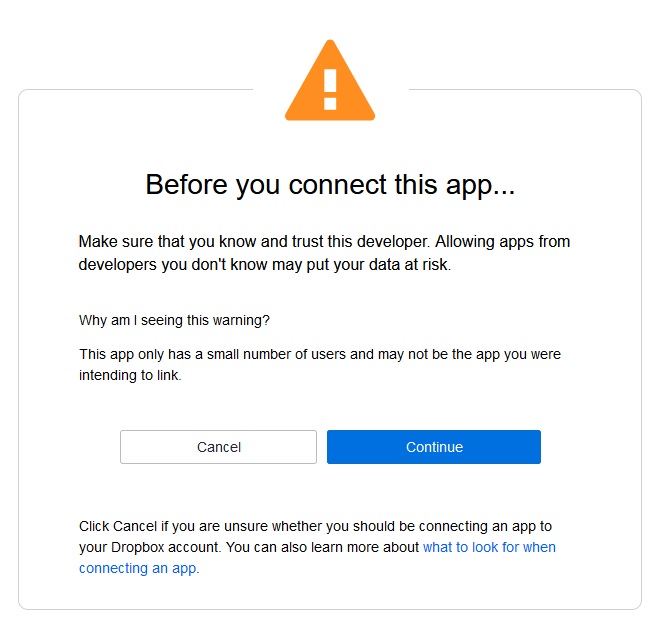
b. The second page – you trust the developer and his KVYcamBgr:
c. The third page – you give KVYcamBgr the access to your folders on the Dropbox:
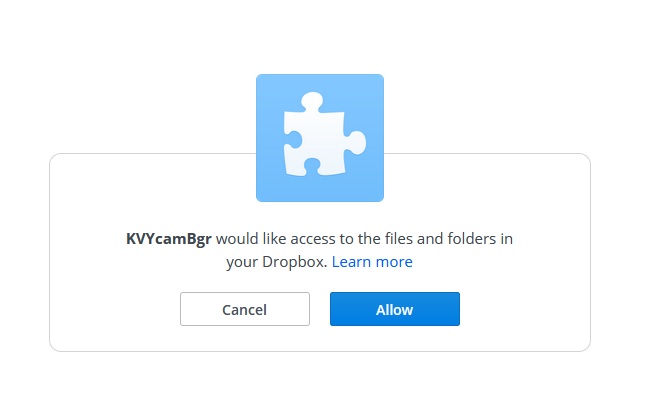
Attention, this access to your folders via KVYcamBgr will be just for you!
d. The final page – close the final page:
KVYcamBgr authorization:
Please, close this page.
The authorization was passed and the program will send the files into your Dropbox.
5. The option Copy the files with motion detection to Dropbox is shared for all created sources with the motion detection. This is mean, if you turn off the option in one source, then this option will be turned off for other sources too.
6. The option Dropbox path allows you to specify the program a folder for files copying in the Dropbox, by default is KVYcamBgr. The option is not shared for other sources.
7. You can track the file copying by the program log. For example,
a. Start of copying:
[05/Apr/2020 at 15:23]:
File for Dropbox uploading: C:\Users\…\Downloads\20200405_152318.mp4
b. Finish of copying:
[05/Apr/2020 at 15:23]:
File for Dropbox uploaded: C:\Users\…\Downloads\20200405_152318.mp4