This manual will help you to add KVYcamBgr to Zoom program in order to use it as an emulated camera on Windows platform.
In order to start, you will need:
Connect to Zoom client
Start by adding a new source to KVYcamBgr:

Name your source, for example, “Zoom”. KVYcamBgr supports multiple video sources. You can select any of them. I selected “Camera“:
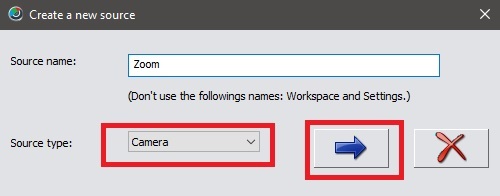
Click Next.
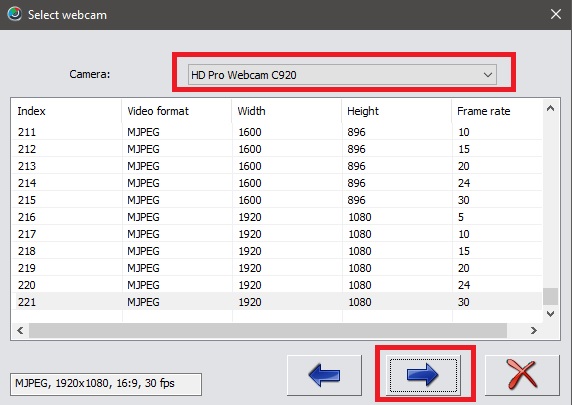
Select your webcam. For my case, this is “HD Pro Webcam C920“. Click Next.
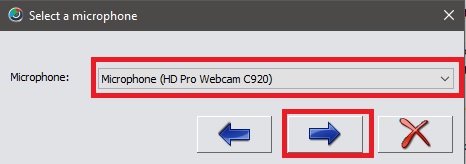
Here you should select the microphone source. I selected
“Microphone (HD Pro Webcam C920) “. Click Next.

This window shows allows you to select a background source for use with Chroma keying. Click Skip (green arrow) if you don’t need one.
On the final page, check the “Splitting” option to allow several applications to use the camera at the same time, then click Next.

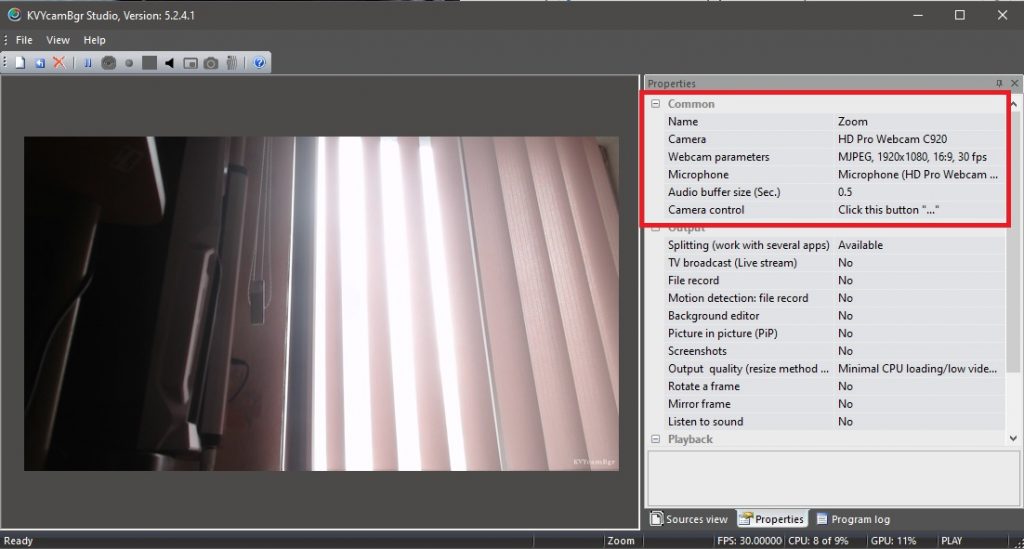
You’re all set! If everything is in order, you should see your stream displayed as a new video source.
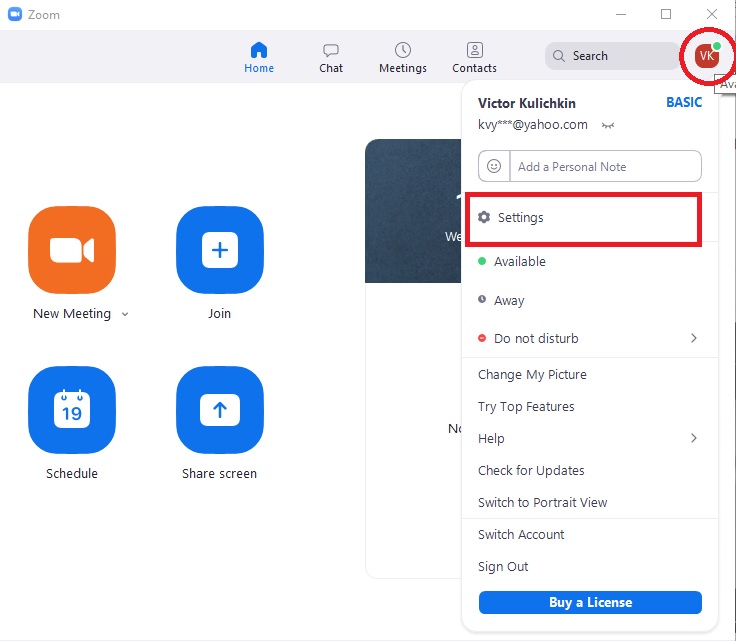
Run Zoom client and select “Settings” there:
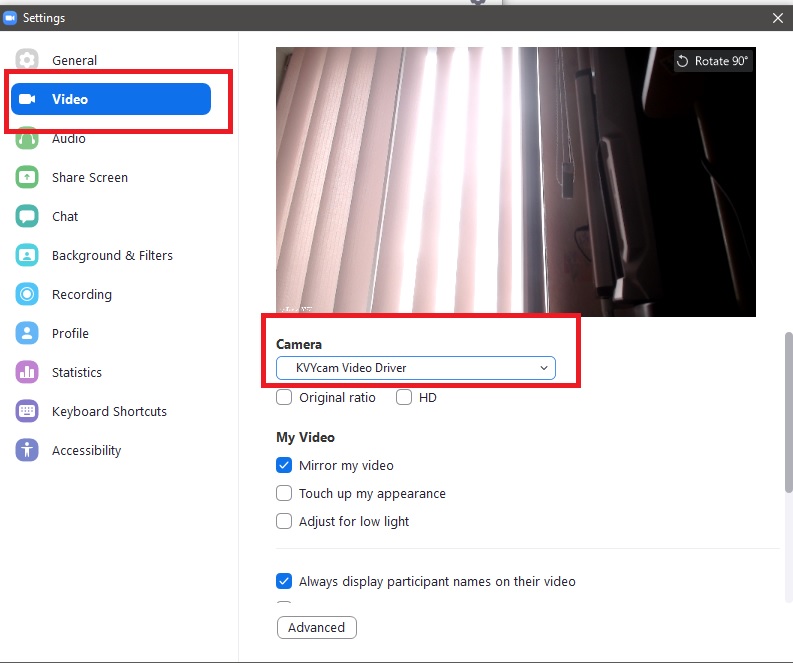
Go to “Video” and select “KVYcam Video Drive” in “Camera“:
Open “Audio” and select the microphone of your source. For my case, this is “Microphone (HD Pro Webcam C920 )“:
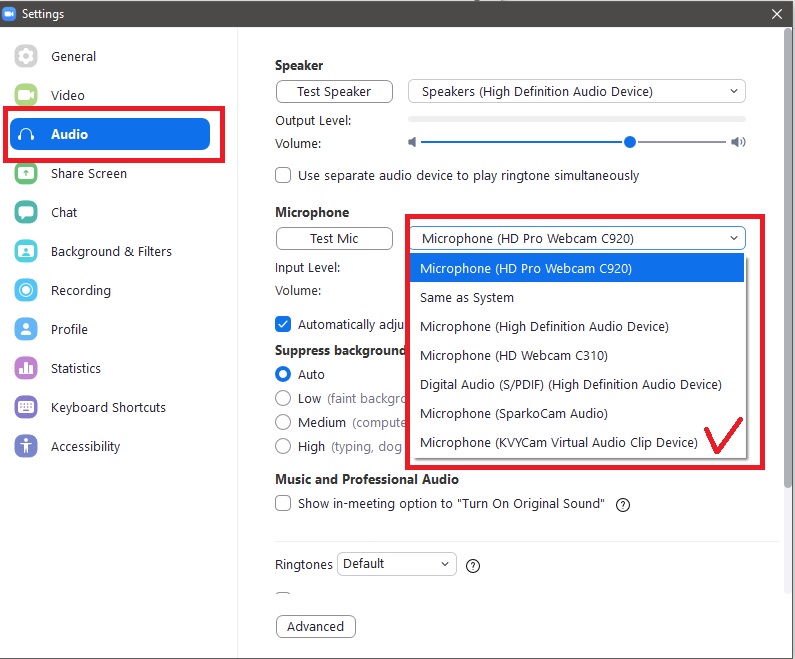
Note. If the created KVYcamBgr source is a film or IP camera, then you should select “KVYcam Virtual Audio Clip Device” in “Audio“.
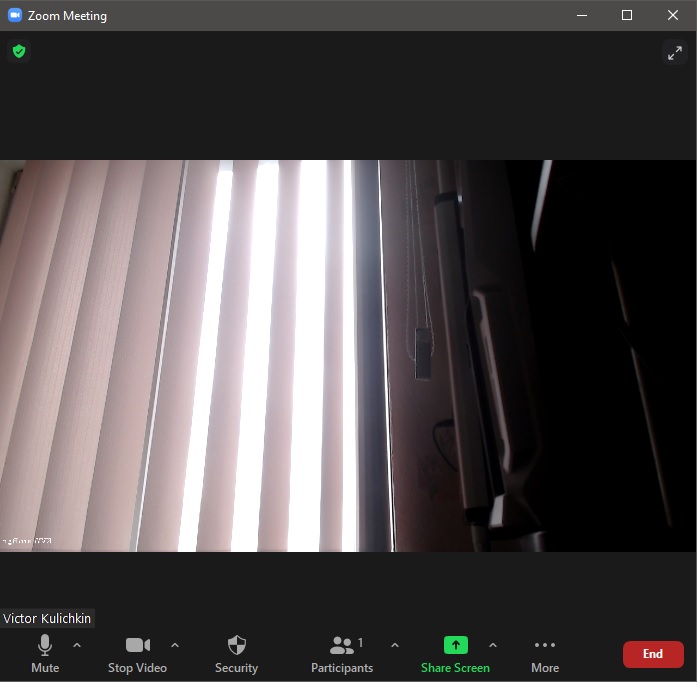
Zoom and KVYcamBgr is ready for work. For test you create the new conference by “New Meeting” in Zoom client. After it you see the video from KVYcamBgr there:
Any time you can change the selected KVYcamBgr drivers by icons: Camera and Microphone.