Notes:
- This option is available only for KVYcamBgr Studio versions starting from 6.2.4.1. The last version is here.
- You will need administrator rights and restart Windows for this operation.
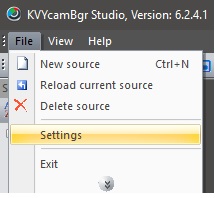
1. Run KVYcamBgr and navigate to its Settings using the menu command File/Settings:
2. Then edit a new virtual name, for example, Studio 2:
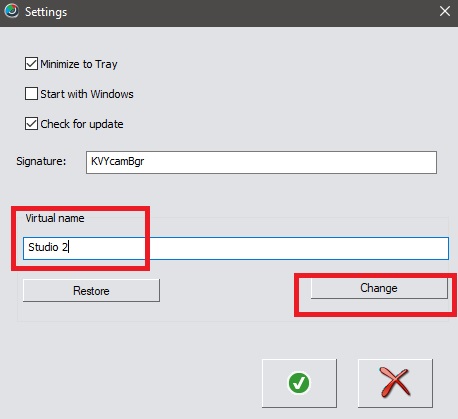
Click on the button Change.
3. After that, the program will inform you about administrator rights and ask you to close all programs connected to KVYcamBgr:
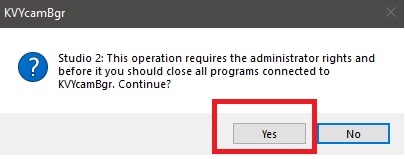
Click Yes.
4. Then the program will call the KVYcamBgr utility NameEx.exe. Press Yes.
5. After completing this operation you should reboot OS:
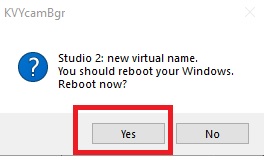
Click Yes.
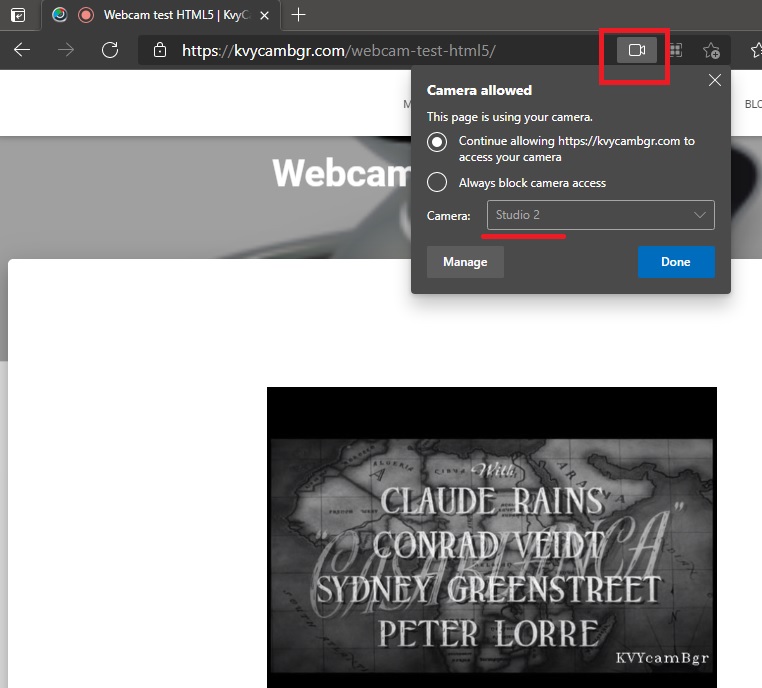
After reboot, you can check the new virtual name on this page:
You can always restore the default name in one of the following ways:
- The button Restore in the Settings window.
- When installing a new version of KVYcamBgr.