For usage of this mode in the program KVYcamBgr you should create a source with the option Desktop. Call the wizard by the menu command – File/New source and select the source type: Desktop.
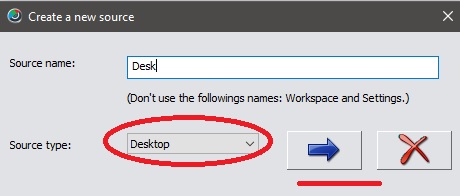
After it click on the button Next (->) and follow the wizard instructions.
The program creates the source with the properties of desktop:
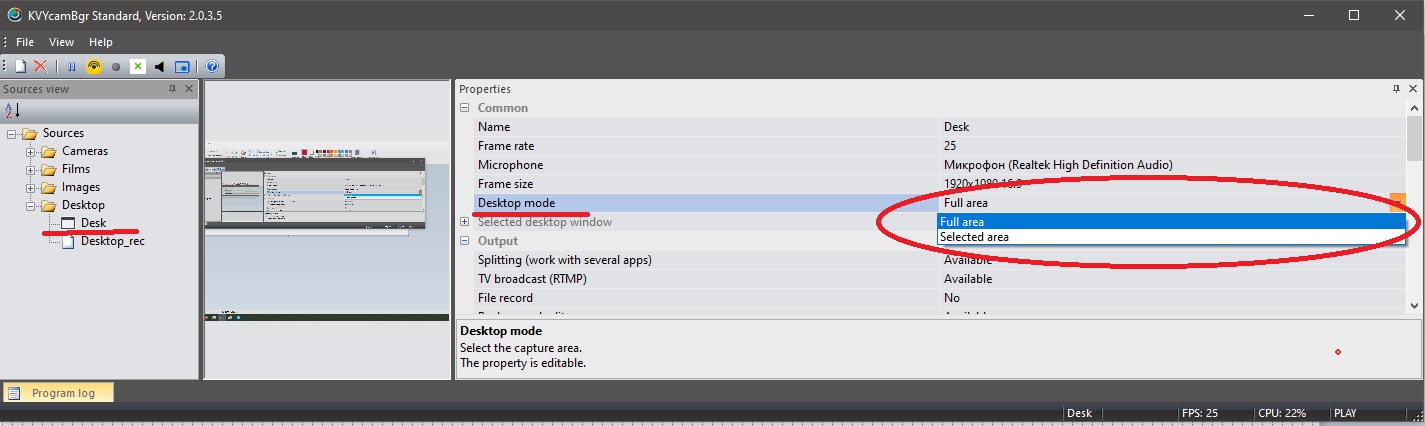
The property Desktop mode allows you to capture an entire desktop (Full area, that mode is default) and select its part (Selected area mode). For the second mode you set Selected area in the property Desktop mode. After it the program opens the mask-window for capture:
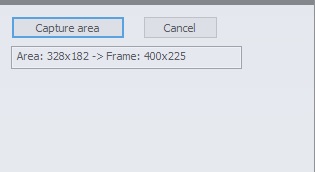
By using mouse you can set any size of the selected area or move the mask to any place of desktop. For the capture of that area use the button Capture area. The fields Area and Frame will show how the captured area will be transformed into the frame. For any time you can restore a full capture of the desktop by using the property Desktop mode, Full area.
A little lifehack. When you call the Select area mode, the program sets a mask-window for select of desktop area. After it I recommend you to minimize the main window of the program by button [_], this case the main window goes out to the system tray, by default. After click on Capture area at the mask-window, the program closes the mask-window and returns the main window from the system tray.
It is recommended to use the Desktop Audio driver for the audio channel.